I first began with the base mesh. This would be the underlying body mesh of the character that I would use to rough out the proportions, shapes and topology. While I originally planned on using ZSpheres, I decided to go with this approach as it would be more useful further on when I needed to make clothing and accessories.
Thanks to the GoZ tools included in ZBrush, moving the models between Maya and ZBrush is fast and efficient.
 |
| The first iteration of the mesh, while the image planes aren't visible, I made sure to follow reference images to ensure realistic proportions were achieved. |

 |
| A majority of the time spent modeling was done with smooth mode on, to make sure the mesh would look fine in ZBrush and be an appropriate base for the rest of the clothing. |

 |
| Once the base mesh was finished I began using it to create the mesh for clothing by duplicating the polygons from the base mesh. This ensures the topology is inherited from the base mesh and makes create of clothing far easier. |
 |
| Basic mesh for the trousers, belt and top. |
 |
| A screenshot of the first model sculpted in ZBrush, the top. |
 |
| Initial model of the boot and it's various parts. |
 |
| Thanks to using Maya in the pipeline, creating multiple elements suchs as the belts and zips on the boots was quick and easy and allowed ideas and concepts to be tested quickly with a rough representation of what it may look like in the final sculpt. |
 |
| Boots and trousers imported into ZBrush. |
 |
| The boots after having details sculpted on. |
 |
| Folds sculpted onto trousers with leg bandage and belts added |
For this project I decided to include a shotgun as the prop of the character, I chose to model the Ithica 37 and tried two different versions, one with a longer barrel and one with a shortened one. I eventually ended up using the shorter barrel one.


 |
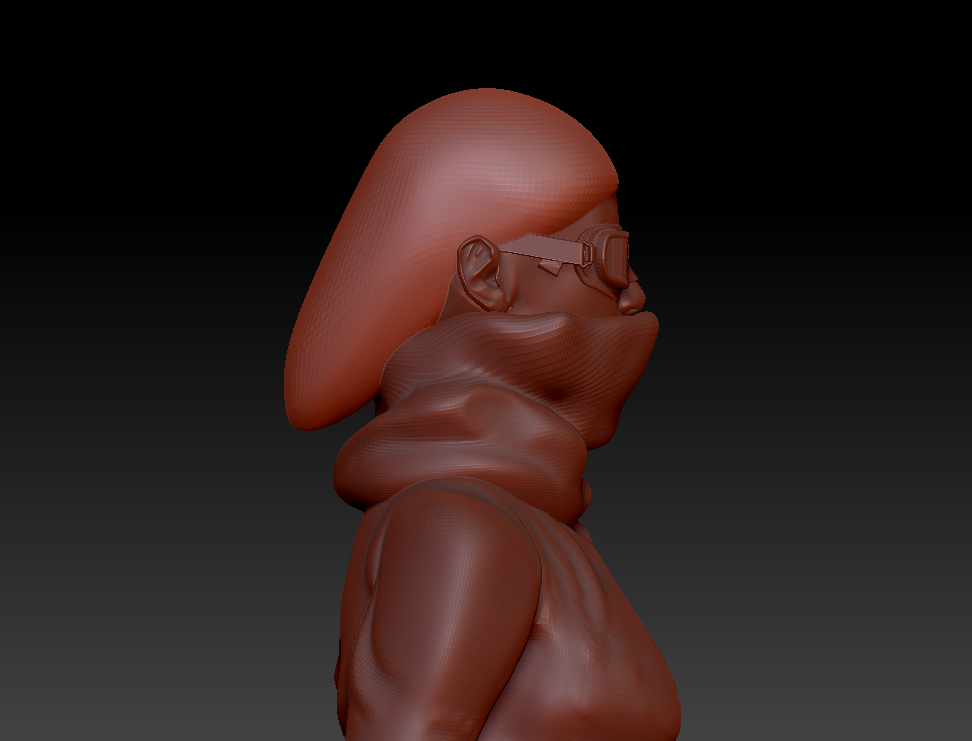
| After modelling the head mesh and importing it, I used ZBrush to sculpt a thick scarf and Maya to model the goggles |
For the hair, I hadn't made a final decision on whether to have her hair tied back like in the original concept or to have it down to her shoulders as seen in one of the concept drawings I did. To experiment I tried creating the long hair and seeing how it would look.


While I think the result was good, I also made another version of the hair but tied back, and compared.


I prefer the tied-back look and decided to use that in the final sculpt instead, but the original hair was helpful for experimenting with the tools I'd use for the final hair.

The final model, featuring the finished scarf and the additions of gloves and shotgun shells to the 2nd belt.
POSING
With the model finished, it was time to pose the model. Using the ZBrush Transpose Master plugin included with the software, I was able to pose the model without merging everything into one model.

The plug in temporarily merges the subtools to their lowest divisions and merges them, from there I seperated the different parts of the model I'd pose into their own polygroups and from there rotated them into position.


Once done with posing I had let the plug in automatically reflect the pose onto the original tool, all that was left was to clean up the stretched geometry and pose the fingers and the prop.
 |
| Before adjustments - Low Divisions |
 |
| After adjustments - High Divisions |


With the character posed and a few adjustments made, all that was left to do was render.

RENDERING
ZBrush features a robust renderer that gives the user an incredible amount of control over various rendering elements such as ambient occlusion, ZDepth and many more variables.

From the Render Properties menu elements can be turned on and off, allowing for more or less detailed and calculated renders.

The BPR RenderPass menu lists the various maps generated when the model is rendered. These maps are incredibly powerful for fine tuning things such as depth of field and shadow strength to the user's preference later on.
These maps can then be individually exported from this menu and used in programs such as Photoshop.

Importing these channels into Photoshop allows the user to alter elements such as Shadow strength and Depth of Field in real time, without having to re-render after every change, like if they were to make these changes in ZBrush itself. This workflow is an invaluable way to fine-tune renders and achieve the results with real-time feedback and not down-time between changes.
No comments:
Post a Comment